For iPhone User: 6 Secret iPhone Camera Tricks That You Must Know!
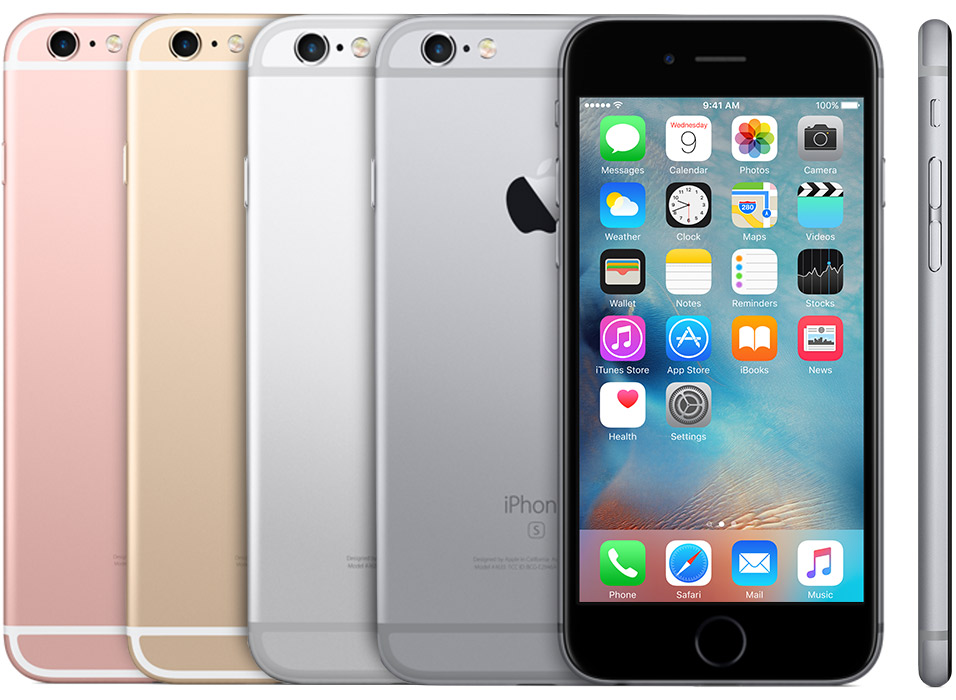
iPhone, this one and only smartphone series came from Apple was a premium-class smartphone (yeah, you can know from it's price lol) which has been equipped with excellent specifications and elegant look-like. We will discuss about camera, which becomes one of the important parts of smartphone in common, also in iPhone. We'll talk android later, so let's talk iPhone's camera!
iPhone's camera, has many special tricks that will improven your quality of photo. But, as written in bgr.com, we’ve compiled 6 lesser known tips designed to help you take your iPhone photos to the next level. Check it out!
1. Use Apple’s white EarPods as a camera shutter release
Apple’s EarPods (the ones that come pre-packaged with every iPhone) have a lot more functionality than meets the eye. You may be surprised to learn that the center button on Apple’s EarPods can actually be used to take a photo. With the Camera app open, simply press the center button once and, just like that, a photo will be snapped in an instant. Note that you can also use this trick to initiate and stop a video recording.
2. Exposure/Focus lock
Even iPhone users who have taken thousands of photos over a period of years are often unaware that the iPhone camera allows users to lock both the exposure and focus settings. To take advantage of this feature, open up the camera app and press and hold the screen until an AE/AF Lock banner appears at the top. Following that, it’s even possible to slide your finger up and down to adjust the exposure of the desired shot.
3. Use a grid overlay
Interested in implementing the Rule of thirds to your iPhone photography game? You can do that easily by applying a grid overlay to the camera display. Enabling a grid overlay is as simple as going to Settings > Photos & Camera and moving the “Grid” toggle into the on position. After that, the camera display will feature a convenient 3×3 grid as shown in the photo above.
4. View large thumbnail previews when in the “Years” view
This is a fun one and also not widely known. If you go to the “Years” view when browsing through your photos, you can do a lot more than simply view a mosiac of all of your snapped photos. If you press and hold on the display, you’ll see an enlarged and dynamic thumbnail preview of individual photos as you glide your finger across the screen.
5. Turn your phone upside down for shots of the ground
This tip comes to us courtesy of a Trxlation post on Medium. To get the lowest angle possible when shooting something on the ground, turn your iPhone upside down. Note the difference when holding the iPhone right side up (on the left) and holding the iPhone upside down (on the right).
6. Take advantage of granular color and B&W controls
Third party photo editing apps are great, but the iPhone has a lot of great photo editing tools built right in. To exercise more granular control over lighting, color, and black and white effects, open up a photo in the Photos app and select the “Edit” option in the upper right.
Following that, tap the icon indicated by the red arrow below.
Next, you can select if you’d like to granularly adjust the light, color or B&W options. Once you’ve made your selection, tap the hamburger menu (three horizontal lines) towards the right of the display and you can edit for hours on end.
See? There are more special tricks again, so stay update with us!!
Source: bgr.com


Leave a Comment